Project Implementation with PlatformIO IDE
For those of you still using the Arduino IDE, I can’t encourage you enough to drop it in favor of PlatformIO IDE. It took me a long time to make up my mind, because one is always apprehensive about leaving one’s comfort zone… But today I can assure you that you won’t regret it! First because it’s painless, but mostly because you will discover a powerful and perfectly integrated development environment, which will push you to adopt good programming practices, and which will make your life much simpler in the end.
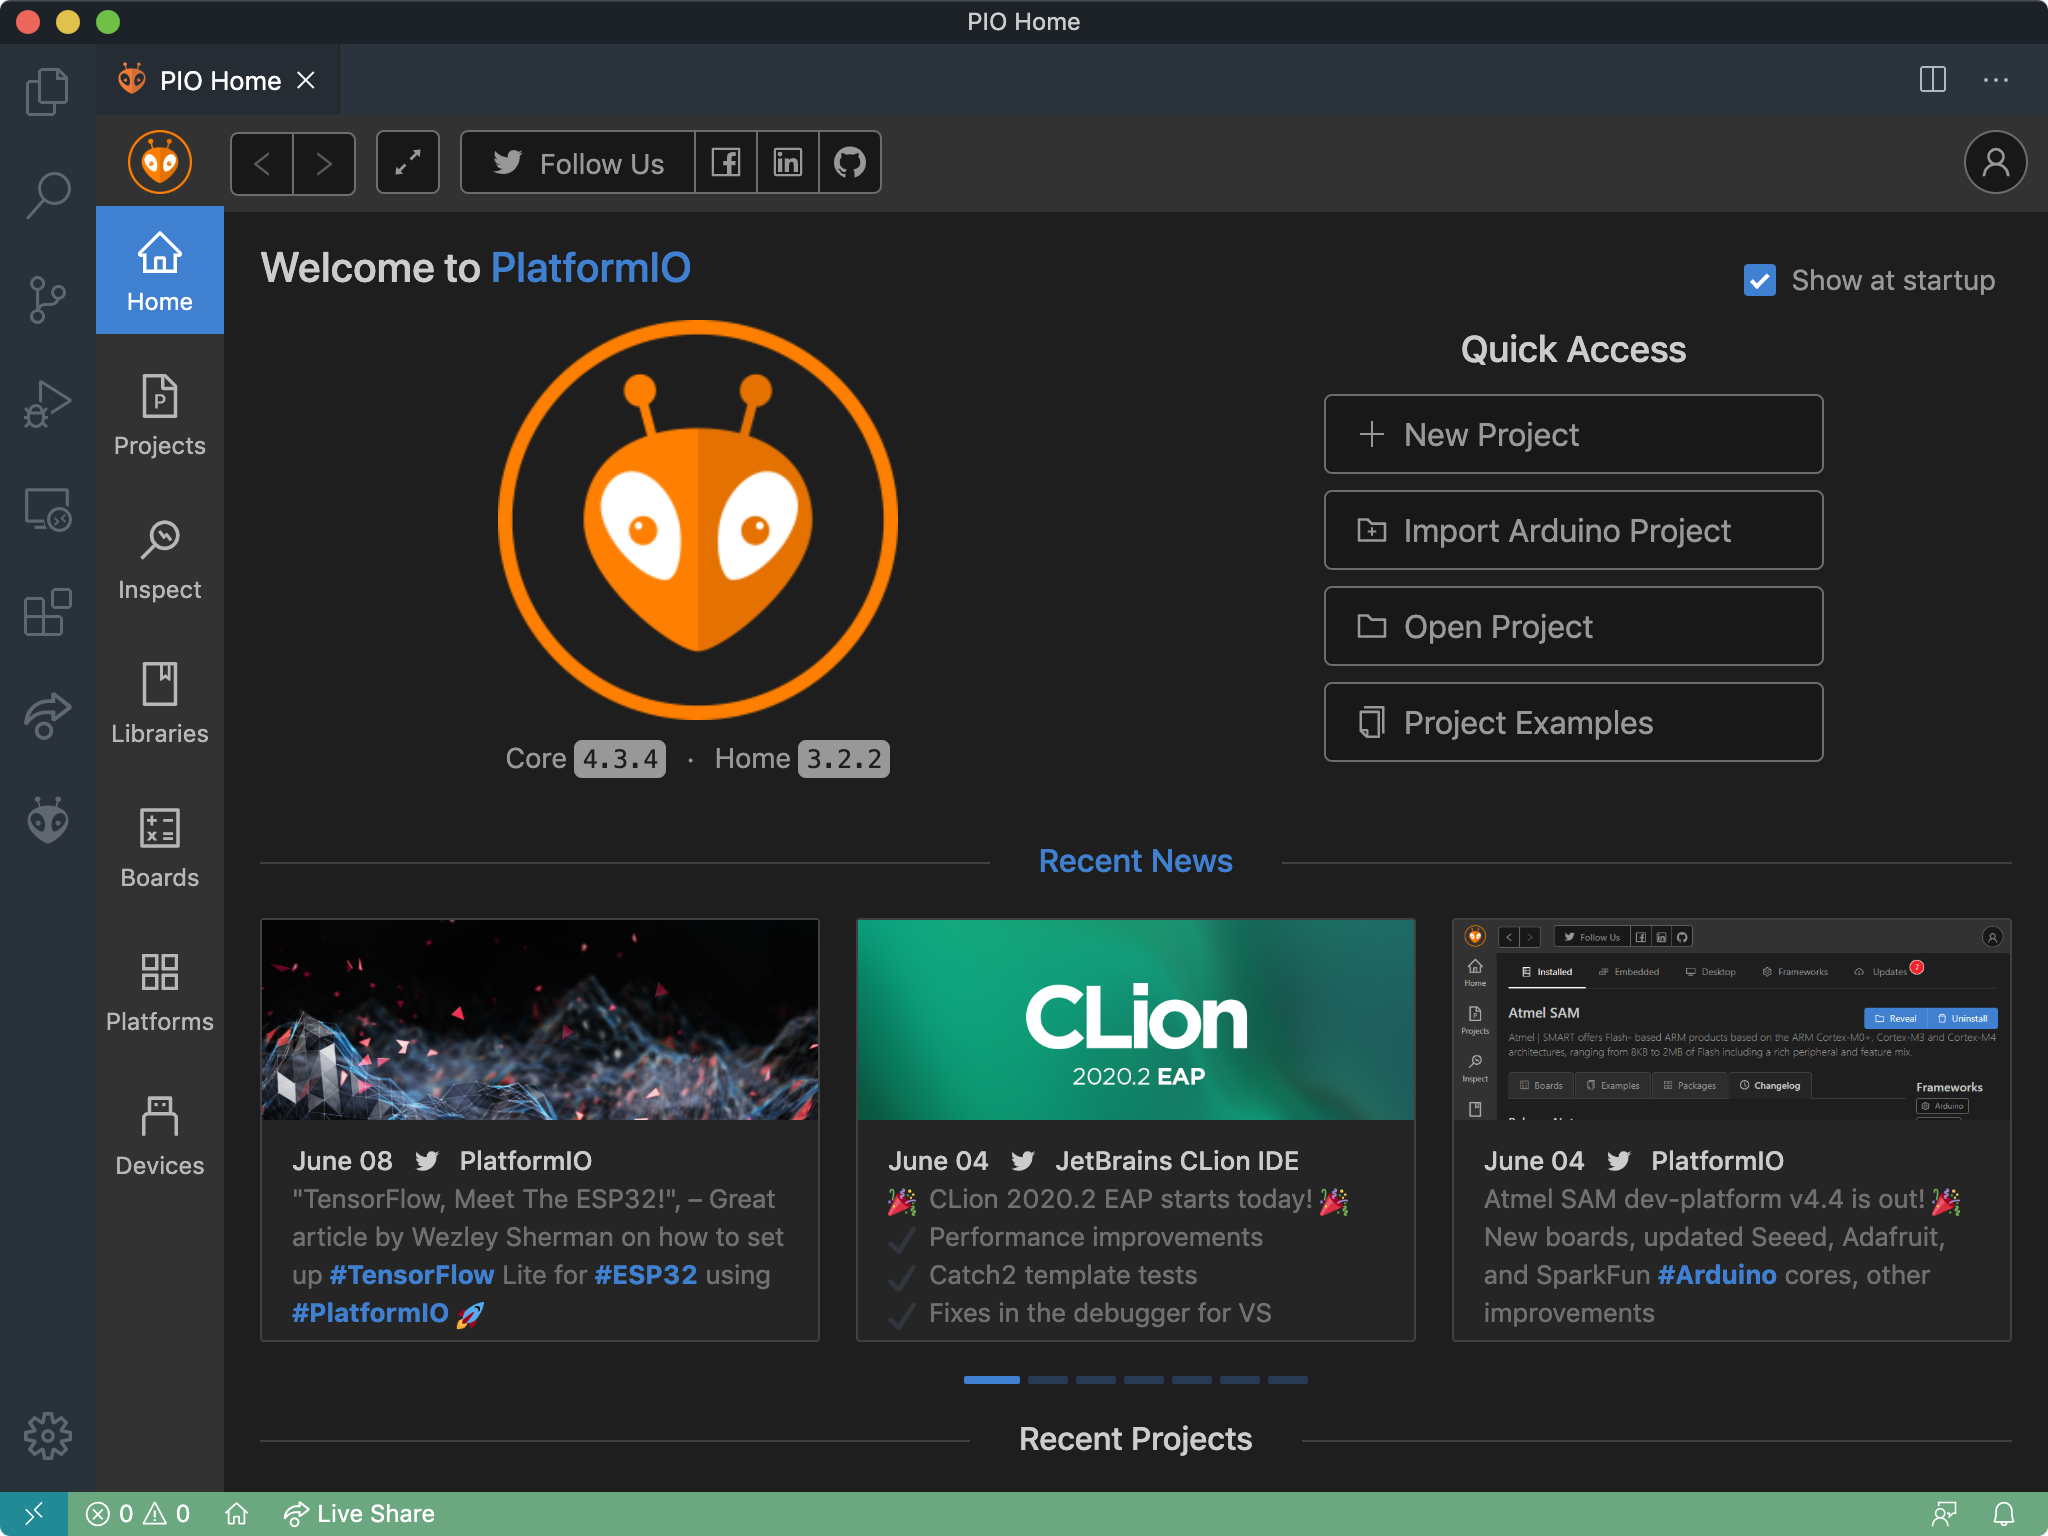
PlatformIO IDE Home page within Visual Studio Code editor
This tutorial is not the place to discuss PlatformIO installation and configuration in detail. You will find lots of articles and videos on the web that will give you a good overview of how to proceed. Once again, the procedure is really very simple. You’ll only need to install:
- Visual Studio Code, which is an advanced code editor,
- PlatformIO as an extension designed to work with Visual Studio Code,
To convince you of its interest as well as the ease with which you will be able to use it, I recommend that you watch Andreas Spiess’ video on the subject:
Andreas shows you not only how to install PlatformIO but also how to create your first projects with the ESP32, regardless of which board you have, and how to manage your libraries. He also shows you the main differences with the Arduino IDE. The essentials are covered to get your foot in the stirrup!
Here’s how to initiate our project:
The name of the project is esp32-rc-ws (abbreviated from ESP32 Remote Control with WebSocket).
You may also have noticed that I’ve deleted a file and some folders:
rm -rf include lib test .travis.yml
Indeed, we will not need them for this project.
Each PlatformIO project has a configuration file named platformio.ini in the root directory for the project. This is a INI-style file. Here’s how I set up our project:
[env:esp32doit-devkit-v1]
platform      = espressif32
board         = esp32doit-devkit-v1
framework     = arduino
upload_speed  = 921600
monitor_speed = 115200
Throughout this tutorial we will write the code in the main.cpp file, which is located in the src folder.
If you still want to use the Arduino IDE, just create a project named esp32-rc-ws and put all your code into the main sketch file esp32-rc-ws.ino. However, you will need to install all the necessary libraries that will be presented to you as we progress through the tutorial.
How to Track Project Progress with Git
For your convenience and to make sure you approach each new chapter with the full code from the previous chapter, you can clone the repository associated with the tutorial and use Git to put yourself in the context of a particular chapter. Then you can simply copy my code into your own project.
To clone the reference repository, go to your project’s parent directory (which should be the directory where PlatformIO stores all your projects), and run the following command:
git clone https://github.com/m1cr0lab-esp32/remote-control-with-websocket.git
After that you should have the following two directories in the PlatformIO projects folder:
pio_projects_folder
├── ...
├── esp32-rc-ws                    # your project folder
└── remote-control-with-websocket  # the complete project from GitHub
Throughout this tutorial, you will gradually write code into the esp32-rc-ws directory. And at the end of each chapter you can easily get the corrected code from GitHub by going to the remote-control-with-websocket directory (your local copy) and running the appropriate git command to place yourself in the context of the chapter you’ve just finished. For this, you will need to know the version number corresponding to the correct chapter. Execute the following command to see all versions declared in the repository :
git tag --list -n1
You should get the following list:
v0.0    Project Bootstrap
v0.1    LED Setup
v0.2    Button Setup
v0.3    Web UI Design
v0.4    SPIFFS Setup
v0.5    WiFi Setup
v0.6    Web Server Setup
v0.7    WebSocket Setup
v0.8    WebSocket Data Exchange
v1.0    WebSocket and JSON
For example, if you want to place yourself in the context of project startup, run:
git checkout v0.0
The entire remote-control-with-websocket directory will automatically be restored to its initial state, i.e. the state it had at the beginning of the project:
remote-control-with-websocket
├── LICENSE
├── Readme.md
├── platformio.ini
└── src
    └── main.cpp
And if you look at the contents of the main.cpp file in the src directory, you will see that it corresponds to the version initialized by PlatformIO when the project was created:
/**
 * ----------------------------------------------------------------------------
 * ESP32 Remote Control with WebSocket
 * ----------------------------------------------------------------------------
 * © 2020 Stéphane Calderoni
 * ----------------------------------------------------------------------------
 */

#include <Arduino.h>

void setup() {

}

void loop() {

}
You will also find the platformio.ini project configuration file:
[env:esp32doit-devkit-v1]
platform      = espressif32
board         = esp32doit-devkit-v1
framework     = arduino
upload_speed  = 921600
monitor_speed = 115200
All right, we’re ready to go!