Design of the Web User Interface
We will now set up the web user interface. I propose you to retrieve the source codes of this interface to integrate them into your project. To do so, update the baseline project with the following git command:
git checkout v0.3
And copy the entire data folder to the root of your project. It is important not to change the name of this folder. We’ll see why later.
Otherwise, create a data directory in your project folder and download the following files inside:
favicon.icois a small, iconic image that represents the ESP32 website.index.htmlcontains the structural description of the user interface.index.cssis the associated style sheet that describes the graphical layout of the interface.index.jsis currently an empty file, but will integrate later the Javascript code that will run on the client browser to interact with the user and the ESP32.
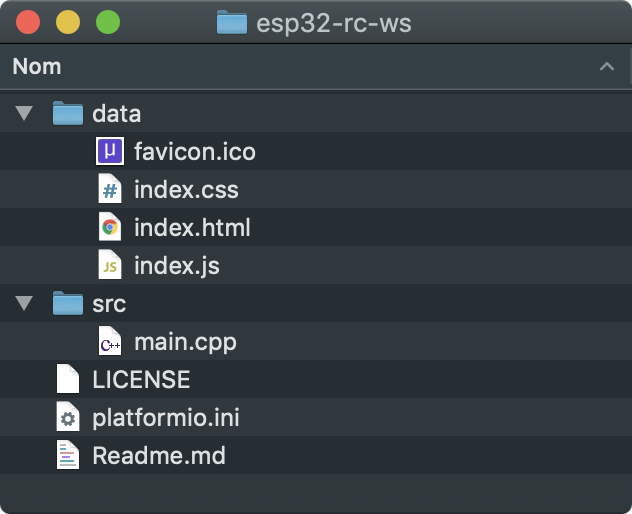
After completing these steps, your project folder should now look like this:
How the web interface looks like
Let’s start looking at how the user interface is built, by opening the index.html file:
<!DOCTYPE html>
<html>

<head>
  <meta charset="utf-8">
  <meta name="viewport" content="width=device-width, initial-scale=1.0">
  <meta name="apple-mobile-web-app-capable" content="yes">
  <meta name="author" content="Stéphane Calderoni">
  <meta name="description" content="ESP32 Remote Control with WebSocket">
  <title>ESP32 remote control</title>
  <link rel="icon" type="image/x-icon" href="favicon.ico">
  <link rel="stylesheet" href="index.css">
  <script src="index.js"></script>
</head>

<body>
  <div class="panel">
    <h1>ESP32 remote control</h1>
    <div id="led" class="%STATE%"></div>
    <button id="toggle">Toggle</button>
  </div>
</body>

</html>
This is what the user interface looks like, formatted by the index.css stylesheet:
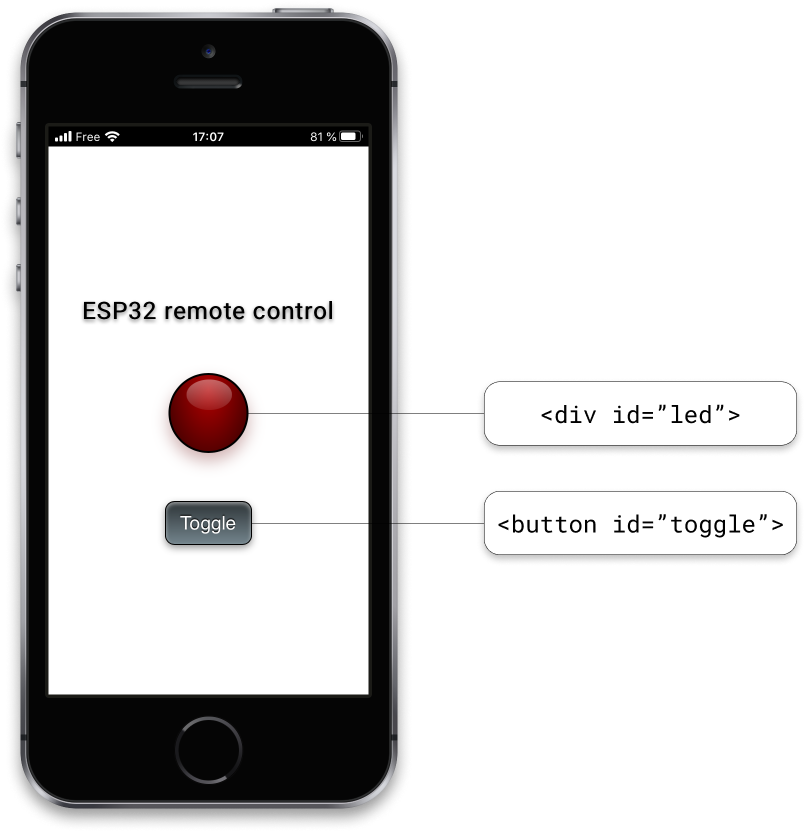
I won’t go into the details of the stylesheet implementation here. You can of course modify it if you want, but we won’t dwell on that aspect. What will interest us later, on the other hand, is the index.js script in which we’ll add the different elements that will allow us to interact with the ESP32 and to take into account the interactions with the user.
But let’s take a closer look at the HTML element that represents the LED:
<div id="led" class="%STATE%"></div>
The CSS class of this element will be determined at runtime to reflect the state of the LED, i.e. whether it is on or off:
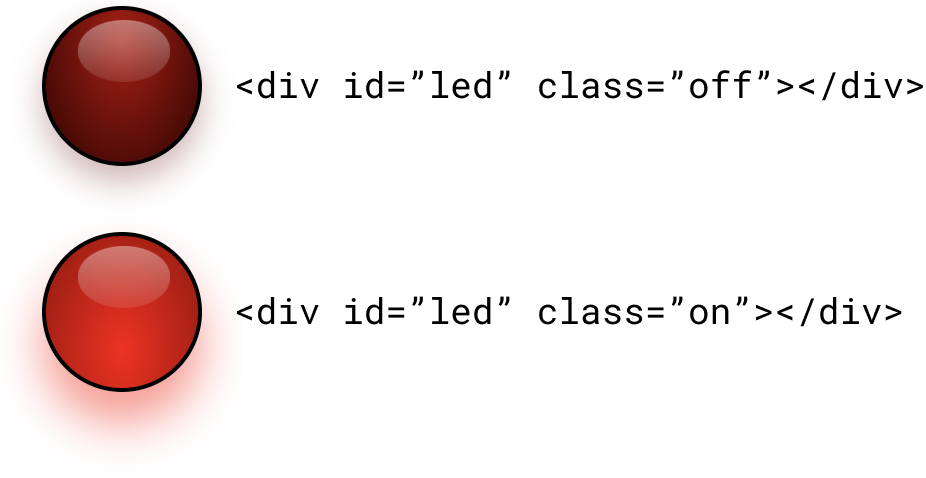
The current %STATE% value is simply a marker that will allow the ESP32 to initialize the user interface with the correct class attribute value before sending the index.html file to the client browser. We’ll see that a little later.
The Toggle button will of course send a command to the ESP32 to invert the status of the LED, i.e. turn it on if it was off, or turn it off if it was on.